How to Test Continuity with a Multimeter
Testing continuity is a fundamental task performed with a multimeter that helps diagnose electrical problems in wires, fuses, and other conductive components.
It’s an essential skill for professionals and hobbyists alike because it allows you to ensure various electrical parts are operating correctly without a break in the circuit. This guide will walk you through the steps to accurately test continuity using a multimeter, ensuring you can maintain and repair your electrical devices effectively.
What is Continuity?
Continuity in electrical terms refers to a continuous path for current to flow from one point to another. Testing for continuity means checking if there are any breaks in an electrical circuit. A circuit without breaks is said to have “continuity.” It’s a simple yet powerful test that can help you identify issues in a circuit before they escalate into more serious problems.
Why Test Continuity?
Testing for continuity is crucial because it helps:
- Detect broken wires within a cable.
- Check for blown fuses.
- Verify that switches are functioning correctly.
- Ensure that components are connected properly within circuits.
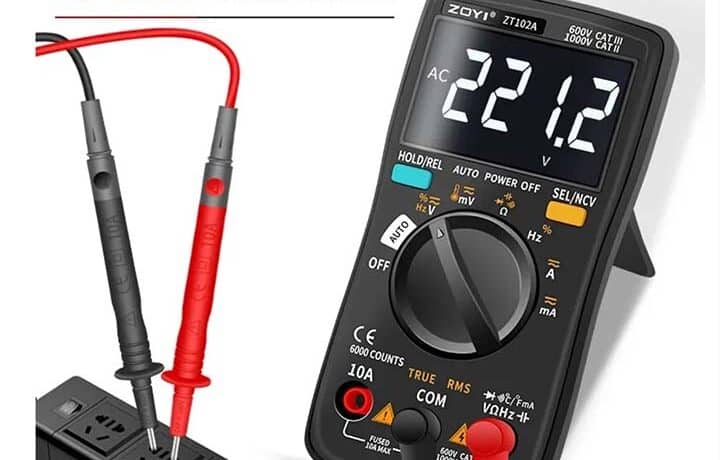
Tools You Will Need:
- A multimeter (either analog or digital)
- Test leads that come with your multimeter
Step-by-Step Guide to Testing Continuity:
- Ensure Safety First:
- Turn off the power to the circuit or device you are testing.
- Disconnect any electricity sources to avoid shocks and damage to your multimeter.
- Prepare Your Multimeter:
- Set your multimeter to the continuity setting. This is often marked with a diode symbol or simply by the word “continuity.” On digital multimeters, you may hear a beep when continuity is detected, which simplifies the testing process.
- Connect the Test Leads:
- Plug the black test lead into the common terminal (usually marked as COM) and the red test lead into the terminal marked for resistance (often denoted by an ohm symbol or the letter “Ω”).
- Perform the Continuity Test:
- Touch the metal ends of the test leads together. If your multimeter is functioning and set correctly, it should emit a beep or show a very low resistance value (close to zero ohms). This confirms that your multimeter is ready for testing.
- Now, touch one probe to one end of the wire, fuse, or connection you wish to test, and the other probe to the other end. If there is continuity, the multimeter will beep or show a low resistance value. If the multimeter does not react, it indicates there is a break in the circuit.
- Interpreting Results:
- Continuity (Beep or Low Resistance): This result means that electricity can flow through the component without any interruptions.
- No Continuity (No Beep or High Resistance): This indicates a break in the circuit, which could be due to a blown fuse, a broken wire, or faulty connections.
Tips for Accurate Testing:
- Always start with a functioning multimeter. Regularly check its battery and condition by testing known live and continuous circuits.
- When testing devices like motors or transformers, ensure they are fully discharged, as residual current can affect your results.
Conclusion:
Understanding how to test continuity with a multimeter can save you time and money in electrical repairs and maintenance. It’s a simple procedure that, when done correctly, provides invaluable information about the integrity of your electrical systems. Whether you’re a professional technician or a DIY enthusiast, mastering this technique is an essential part of your toolkit.
Remember, safety is paramount when working with electricity, so always take the necessary precautions and follow the manufacturer’s guidelines for your testing equipment.
Discover more from VoltsBay.com - Test Meters , Multimeter & Measurement Equipments
Subscribe to get the latest posts sent to your email.